
Yoga students tend to love or hate Eka pada rajakapotasana (One-legged king pigeon pose). With these seven pigeon pose variations, let’s create more pigeon-lovers.
Turning a yoga pose over is a powerful way to make it more accessible or more challenging. By flipping an asana, we change the foundation and the relationship with gravity. This affects the stability, the amount of strength required, and the ease of transitioning into and out of the pose.
Most of these seven Pigeon poses have variations of their own. You could incorporate binds, twists and side stretches.
You could offer different options to suit different students, or you could incorporate several pigeon pose variations within a class. Teaching the same shape multiple times, working from easier to more challenging orientations, is a powerful sequencing technique. You could include a few variations into a sequence leading up to one of the more challenging pigeons.
Prone – the Classic Pigeon
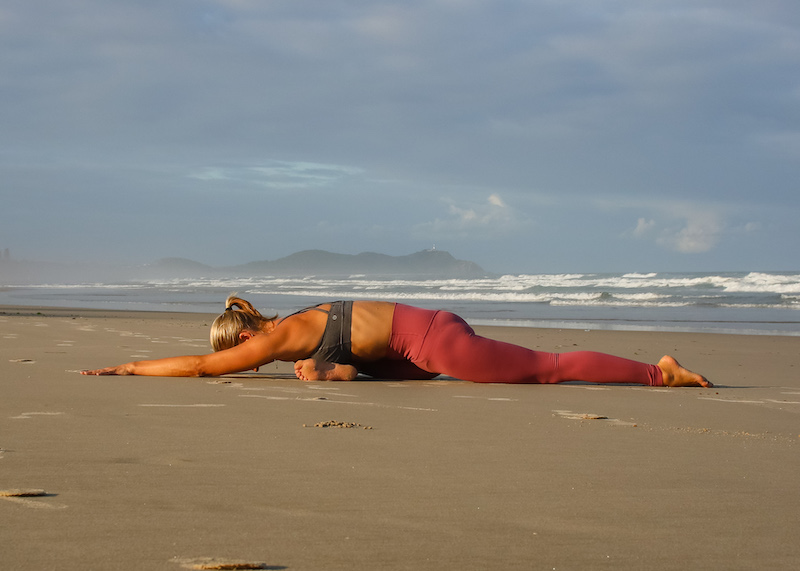 Eka pada rajakapotasana in its classic form offers a beautiful stretch through the glutes. Many people also find it very calming, possibly a result of the gentle pressure on the forehead. Bringing the front foot towards parallel to the front of your mat will result in a deeper stretch; keeping your front foot closer to your groin will help you to back it off. You can also make it easier by adding props under the hips and under the chest/forehead.
I’m a fan of an ‘active’ pigeon: rather than flopping into the pose, very gently draw the front and back leg towards each other, and lightly press your feet into the floor.
For yogis with sore knees, tight hips, or sacro-iliac concerns, the classic posture might not be the best approach.
More Accessible Options…
Supine Pigeon #1
 Postures that involve lying on the back are accessible to most students. They’re inherently stable, and lying supine reduces the load on vulnerable joints such as the knees, neck and lower back.
This variation of Supta era pada rajakapotasana (Supine one-legged king pigeon pose) is the simplest and safest of all the variations. To make it more accessible, you could hold the back of the thigh rather than the shin, or use a strap. For some students, simply crossing ankle over thigh and keeping one foot on the floor will be enough to offer a stretch.
Flex the foot of the crossed leg and keep your sacrum grounded. For a slightly deeper stretch, ease a little more weight to the hip of the leg you’re holding onto.
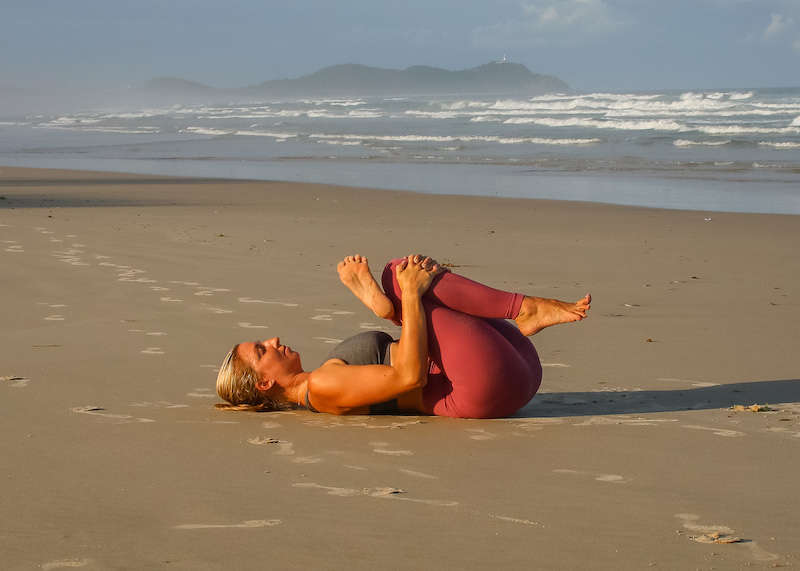
Supine Pigeon #2
 In this variation, we’ve literally just turned the classic pigeon onto its back. This takes some pressure out of the knee and lower back, but is stronger than the previous variation.
You could either hold your foot with both hands (requiring less flexibility) or cradle your leg like a baby (requiring more flexibility). Either way, keep your extended leg engaged, flex both feet, and maintain length through the back of your neck.
Seated Pigeon
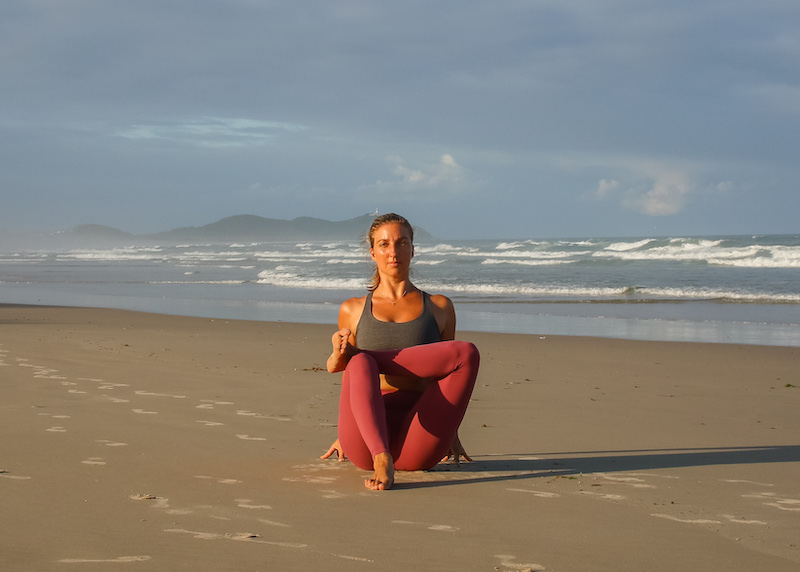 The challenge in this seated variation is staying up on your sitting bones and keeping your chest open and lifted. The tendency will be to collapse through the lower back and chest. For anyone whose hips are more restricted, elevating the hips and hands (eg on a bolster or blocks) will help.
Keep flexing your foot, and use your hands to assist in lifting your sternum.
More Challenging Options…
Standing Pigeon #1
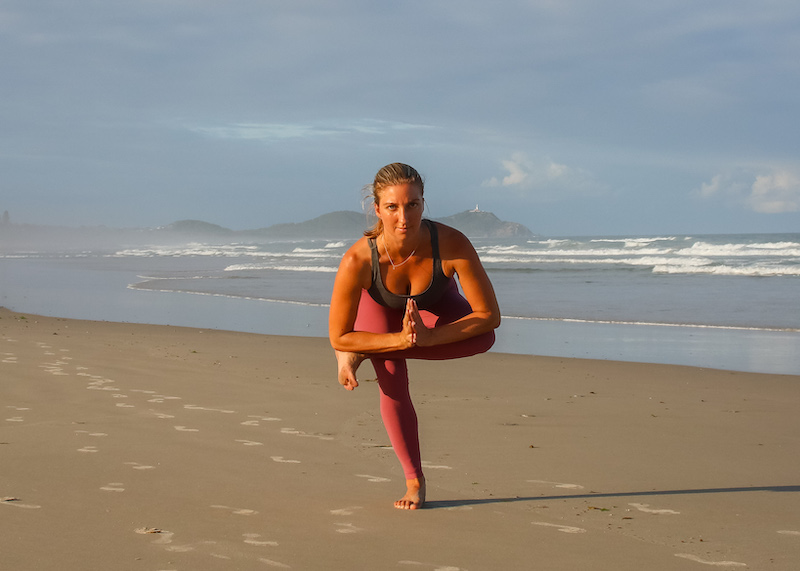 As soon as we bring Pigeon onto its feet, we add a balance challenge, and we need to utilise more muscular strength to support ourselves. This variation is a great option to strengthen the quads and glutes, and it’s still quite accessible (though not necessarily easy!) You could always use a wall for balance. In some ways, I actually think it’s more accessible than the classic pigeon.
Flex the top foot to support the knee joint, and aim to keep both hips level – you might find that the hip of your elevated leg has a tendency to drop.
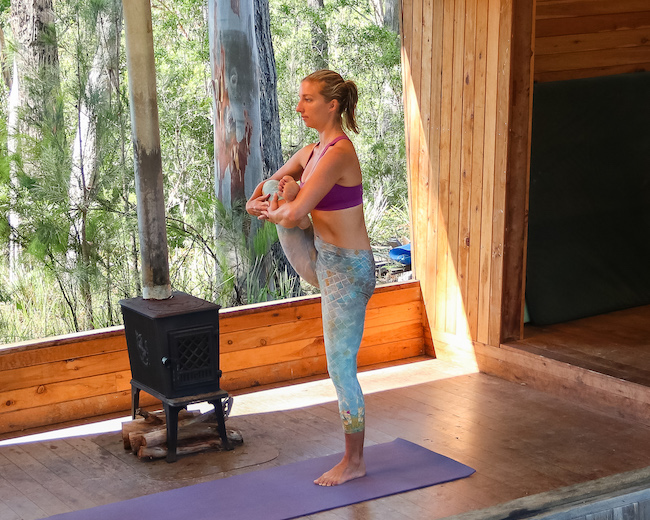
Standing Pigeon #2
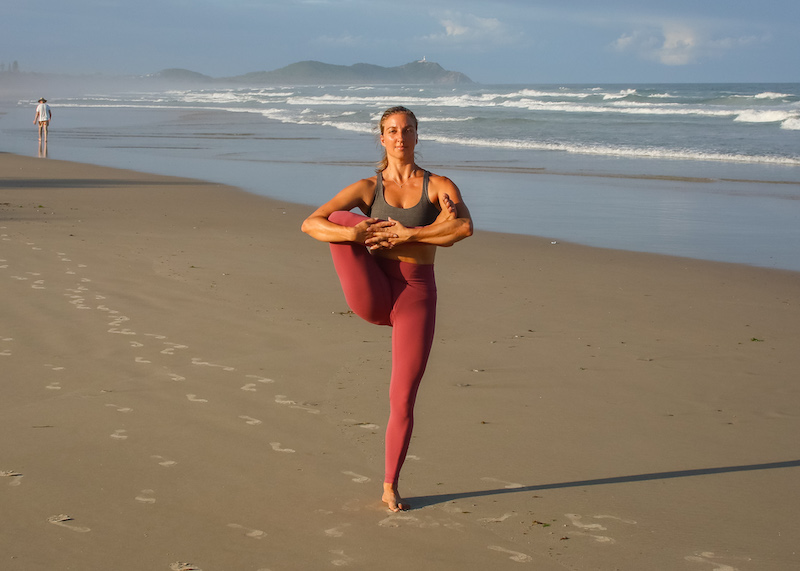 You need to feel pretty good in a classic pigeon to try this standing variation. My preferred transition in is from the first Standing variation – wrap your arms around your legs and lift the whole shape to vertical.
Once you’re up, root down through your standing foot and grow tall, lifting your sternum and the crown of your head. Draw your shoulder blades back and down. Keep flexing your top foot and pressing out through the ball of your foot.
Finally, feel for whether you’re lifting the hip of the raised leg, and draw the hip crease towards the earth.
Flying Pigeon
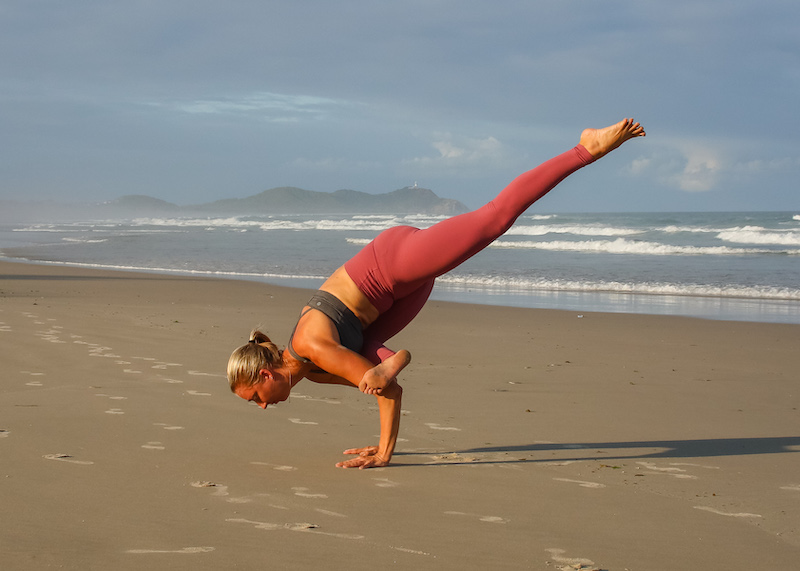 And finally… our pigeon takes flight. Flyng pigeon (Eka pada galavasana) requires upper body and core strength, as well as open hips. It’s a little scary, but ultimately a lot of fun and great pose for building confidence. Like all arm balances, it can be tough on your wrists – incorporate some wrist conditioning in your regular practice if you find your wrists fatigue.
I approach it from the first Standing pigeon. Plant your hands on the floor, rest your knee on one upper arm and hook your foot actively around the other upper arm. You’ll start with the elevated leg bent, tucked in and as you shift your weight into your hands, maybe you’ll just float your toes an inch off the floor. Once you’ve found stability and confidence at that stage, you’re ready extend your top leg up and back. Keep your fingers active and your gaze lifted. Check out Jason Crandell’s article for a more comprehensive pose breakdown.
I hope you and your students enjoy exploring these pigeon pose variations!
Leave A Comment